// ...
```
/// Move business summary field
Add the business summary field to the "Business Information" section.
```tsx focus=12-16
// src/components/PayabliForm.tsx
// ...
```
/// Change section label
Change the wizard step's label prop to say "Corporation Overview" instead of "Business Information".
Then change the icon prop to use the `Briefcase` icon provided by [lucide.dev](https://lucide.dev/).
Make sure to import the `Briefcase` icon at the top of the file.
```tsx focus=1-4
// src/components/PayabliForm.tsx
} label="Corporation Overview">
Step 1: Corporation Overview
// ...
```
+++ Update form schema
++ Update the form schema to reflect the changes we made to the form fields.
/// Find the form schema
The schema defines validation rules and default values for form fields.
It's located in the `src/Schema.ts` file.
```typescript
// src/Schema.ts
import { z } from 'zod';
const requireString = () => z.string().min(1, { message: 'This field is required' });
const requiredNumber = () => z.coerce.number().min(1, { message: 'This field is required' });
export const formSchema = z.object({
// ... other fields
legalname: requireString(),
btype: requireString(),
ticketamt: requiredNumber(),
// ... other fields
});
```
/// Add minimum validation
Add a minimum value validation for the ticket amount field.
```typescript focus=11-13
// src/Schema.ts
import { z } from 'zod';
const requireString = () => z.string().min(1, { message: 'This field is required' });
const requiredNumber = () => z.coerce.number().min(1, { message: 'This field is required' });
export const formSchema = z.object({
// ... other fields
legalname: requireString(),
btype: requireString(),
ticketamt: requiredNumber().min(100, {
message: 'Ticket amount must be at least $100'
}),
// ... other fields
});
```
/// Set default business type
Set a default value of "Private Corp" for the `btype` field.
```typescript focus=10
// src/Schema.ts
import { z } from 'zod';
const requireString = () => z.string().min(1, { message: 'This field is required' });
const requiredNumber = () => z.coerce.number().min(1, { message: 'This field is required' });
export const formSchema = z.object({
// ... other fields
legalname: requireString(),
btype: requireString().default("Private Corp"),
ticketamt: requiredNumber().min(100, {
message: 'Ticket amount must be at least $100'
}),
// ... other fields
});
```
+++ Customize form fields
++ Customize the labels, tooltips, and options for specific form fields.
/// Find `ticketamt` field
Find the `` component for the ticket amount field.
```tsx
// src/components/PayabliForm.tsx
// ... other fields
// ... other fields
```
/// Specify minimum ticket amount
Customize the ticket amount field to show the minimum requirement.
```tsx focus=5-6
// src/components/PayabliForm.tsx
// ... other fields
// ... other fields
```
/// Find `whenDelivered` field
Find the `` component for the delivery timeframe field.
```tsx
// src/components/PayabliForm.tsx
// ... other fields
// ... other fields
```
/// Remove "Over 30 Days" option
Remove the "Over 30 Days" option from the delivery timeframe field.
```tsx focus=7-9
// src/components/PayabliForm.tsx
// ... other fields
// ... other fields
```
/// Find `whenRefunded` field
Find the `` component for the refund timeframe field.
```tsx
// src/components/PayabliForm.tsx
// ... other fields
// ... other fields
```
/// Remove "Over 30 Days" refund option
Remove the "Over 30 Days" option from the refund timeframe field.
```tsx focus=7-9
// src/components/PayabliForm.tsx
// ... other fields
// ... other fields
```
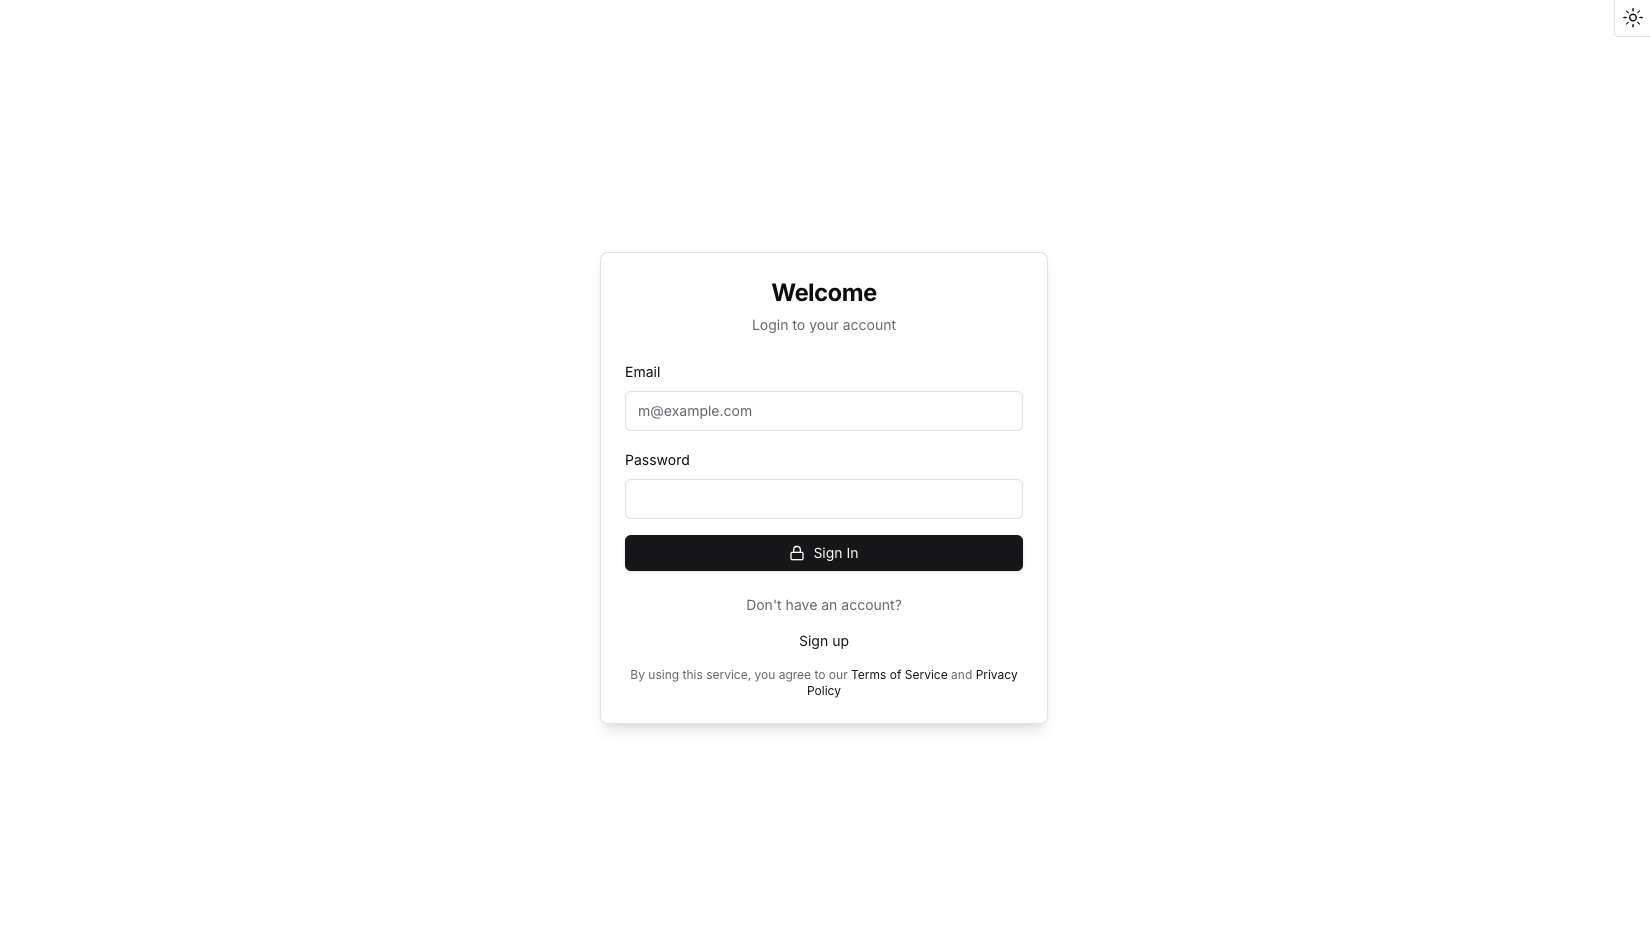
### Customize the app theme
The example app is built with [shadcn/ui](https://ui.shadcn.com/) and [Tailwind CSS](https://tailwindcss.com/).
You can customize the app's appearance by modifying the CSS file located at `styles/globals.css`.
The `:root` selector contains CSS variables that apply to light mode, and the `.dark` selector contains CSS variables for dark mode.
```css Default theme
@tailwind base;
@tailwind components;
@tailwind utilities;
@layer base {
:root {
--background: 0 0% 100%;
--foreground: 240 10% 3.9%;
--card: 0 0% 100%;
--card-foreground: 240 10% 3.9%;
--popover: 0 0% 100%;
--popover-foreground: 240 10% 3.9%;
--primary: 240 5.9% 10%;
--primary-foreground: 0 0% 98%;
--secondary: 240 4.8% 95.9%;
--secondary-foreground: 240 5.9% 10%;
--muted: 240 4.8% 95.9%;
--muted-foreground: 240 3.8% 46.1%;
--accent: 240 4.8% 95.9%;
--accent-foreground: 240 5.9% 10%;
--destructive: 0 84.2% 60.2%;
--destructive-foreground: 0 0% 98%;
--border: 240 5.9% 90%;
--input: 240 5.9% 90%;
--ring: 240 5.9% 10%;
--radius: 0.5rem;
--chart-1: 12 76% 61%;
--chart-2: 173 58% 39%;
--chart-3: 197 37% 24%;
--chart-4: 43 74% 66%;
--chart-5: 27 87% 67%;
}
.dark {
--background: 240 10% 3.9%;
--foreground: 0 0% 98%;
--card: 240 10% 3.9%;
--card-foreground: 0 0% 98%;
--popover: 240 10% 3.9%;
--popover-foreground: 0 0% 98%;
--primary: 0 0% 98%;
--primary-foreground: 240 5.9% 10%;
--secondary: 240 3.7% 15.9%;
--secondary-foreground: 0 0% 98%;
--muted: 240 3.7% 15.9%;
--muted-foreground: 240 5% 64.9%;
--accent: 240 3.7% 15.9%;
--accent-foreground: 0 0% 98%;
--destructive: 0 62.8% 30.6%;
--destructive-foreground: 0 0% 98%;
--border: 240 3.7% 15.9%;
--input: 240 3.7% 15.9%;
--ring: 240 4.9% 83.9%;
--chart-1: 220 70% 50%;
--chart-2: 160 60% 45%;
--chart-3: 30 80% 55%;
--chart-4: 280 65% 60%;
--chart-5: 340 75% 55%;
}
}
@layer base {
* {
@apply border-border;
}
html {
@apply scroll-smooth;
}
body {
@apply bg-background text-foreground;
font-synthesis-weight: none;
text-rendering: optimizeLegibility;
}
}
@layer base {
img {
display: initial;
}
}
```
### Additional customization
To learn more about the available props for the form components and additional customization options, see the following resources:
* **Form fields**: See the example app's [README](https://github.com/payabli/examples/tree/main/boarding) for available props
* **Icons**: Browse available icons at [lucide.dev](https://lucide.dev/)
{/* vale Payabli.We = YES */}
## Related resources
See these related resources to help you get the most out of Payabli.
* **[Manage notifications](/guides/pay-ops-developer-notifications-manage)** - Set up notifications to stay informed about boarding application status changes
* **[Boarding API example](https://github.com/payabli/examples/tree/main/boarding)** - Full API-driven boarding application example on GitHub
* **[Boarding statuses reference](/guides/pay-ops-boarding-status-reference)** - Learn about statuses and substatuses during the merchant boarding process
* **[Paypoint statuses](/guides/pay-ops-paypoint-status-reference)** - Learn about the different statuses of paypoints
* **[Send prefilled boarding applications](/guides/pay-ops-developer-boarding-send-prefilled-apps)** - Learn how to send prefilled boarding applications to prospective merchants