Embedded components framework integrations
Learn how to use Payabli’s embedded components with front-end frameworks like React and Vue
You can use Payabli’s embedded components in a React, Vue, or React Native application following the same configuration patterns as in a vanilla JavaScript application.
PayabliComponent is a global symbol, not a property of window. Access it directly as PayabliComponent (for example, new PayabliComponent({...})), not window.PayabliComponent. If the constructor isn’t found, the component shows a misleading “couldn’t load — check your network and token,” so check the global access first.
When server-side rendering (Next.js, Nuxt), give the component a stable container identifier that stays consistent between the server and client render.
React
Visit the React Integration Example to see Payabli’s embedded components in a React application.
Step 1: Create the hook
Create a hook that allows you to use the embedded component and execute its methods.
The hook needs to inject the Payabli library script and initialize the embedded component with the provided configuration.
Make a new file for the usePayabli hook and add the following code:
Step 2: Create the component
Create a new PayabliCheckout component that passes in the configuration object for the embedded component to the usePayabli hook.
The PayabliCheckout component uses the payabliExec function to execute the embedded component’s method.
Create a new file in the same directory and add the following code:
There are multiple types of embedded components with different use cases. See the Embedded Components Overview to decide which component type is best for you.
EmbeddedMethod UI
PayMethod UI
Types
The hook receives the following arguments:
The configuration object for the embedded component. See the configuration reference for the component type you are using.
The method to execute in payabliExec. See the field for more information.
An optional object that contains objects to pass to the method. See the paymentMethod, paymentDetails, or customerData objects for more information.
A boolean value that determines whether to use the production or sandbox environment.
The hook returns an array with the following elements:
The configuration object for the embedded component. See the configuration reference for the component type you are using.
A function to update the configuration object for the embedded component. This allows you to dynamically change the options after initialization.
A function to execute the embedded component’s method. This will call the method specified in the method argument passed to the hook.
A function to reinitialize the embedded component.
Vue
Visit the Vue integration example to see Payabli’s embedded components in a Vue application.
Step 1: Create the composable
Create a composable that allows you to use the embedded component and execute its methods.
The composable needs to inject the Payabli library script and initialize the embedded component with the provided configuration.
Make a new file for the usePayabli composable and add the following code:
Step 2: Create the component
Create a new PayabliCheckout component that passes in the configuration object for the embedded component to the usePayabli composable.
The PayabliCheckout component uses the payabliExec function to execute the embedded component’s method.
Create a new file in the same directory and add the following code:
EmbeddedMethod UI
Types
The composable receives the following arguments:
The configuration object for the embedded component. See the configuration reference for the component type you are using.
The method to execute in payabliExec. See the field for more information.
An optional object that contains objects to pass to the method. See the paymentMethod, paymentDetails, or customerData objects for more information.
A boolean value that determines whether to use the production or sandbox environment.
The composable returns an array with the following elements:
The configuration object for the embedded component. See the configuration reference for the component type you are using.
A function to execute the embedded component’s method. This will call the method specified in the method argument passed to the hook.
A function to reinitialize the embedded component.
React Native
Building a native iOS app rather than a React Native web view architecture? Mobile components integrate directly with Payabli’s native SDK and don’t require a <WebView>.
Payabli offers a React Native example app built with Expo that demonstrates how to render and use Payabli’s embedded components in a React Native environment. This section covers the file structure of the React Native example app and how to run it locally. Visit the React Native integration example to see the source code on GitHub.
File structure
To use Payabli’s embedded components in a React Native application, you must render them inside of a <WebView> component.
The React Native example app contains utility files to render the embedded component inside of a <WebView>, and demo files that show how to use the utility files.
Utility files
The React Native example contains utility files that help to render the embedded component inside of a <WebView> and communicate between the React Native app and the embedded component.
config.ts
This file contains the configuration object for the embedded component. To customize fields and payment methods, update the configuration in this file. For more information on the configuration object and its fields, see the configuration reference for the component type you are using.
bridge.ts
This file contains functions that receive messages from the embedded component in the React Native app. It also defines the shape of messages received from the embedded component.
bootstrap.ts
This file initializes the embedded component.
It sets up the message bridge in the embedded component’s <WebView> so it can send messages to the React Native app.
It works with bridge.ts to support communication between the embedded component and the app.
model.ts
This file contains the TypeScript types used in the React Native example. These types include customer data shapes and payment method values.
usePayabliWebView.ts
This hook composes the utility files into reusable embedded component logic. It initializes the component and wires up the WebView integration.
PayabliEmbeddedWebView.tsx
This component renders Payabli’s embedded component inside a React Native <WebView>.
It uses the usePayabliWebView hook to initialize the component and handle app communication.
Demo files
The React Native example contains demo files that show how to use the previous utility files to render the embedded component and handle its callbacks. These files don’t contain core logic to render Payabli’s embedded components or process payments. You can remove these files without affecting the functionality of the embedded component in your app.
PayabliCheckout.tsx
This demo component renders Payabli’s embedded component with PayabliEmbeddedWebView.
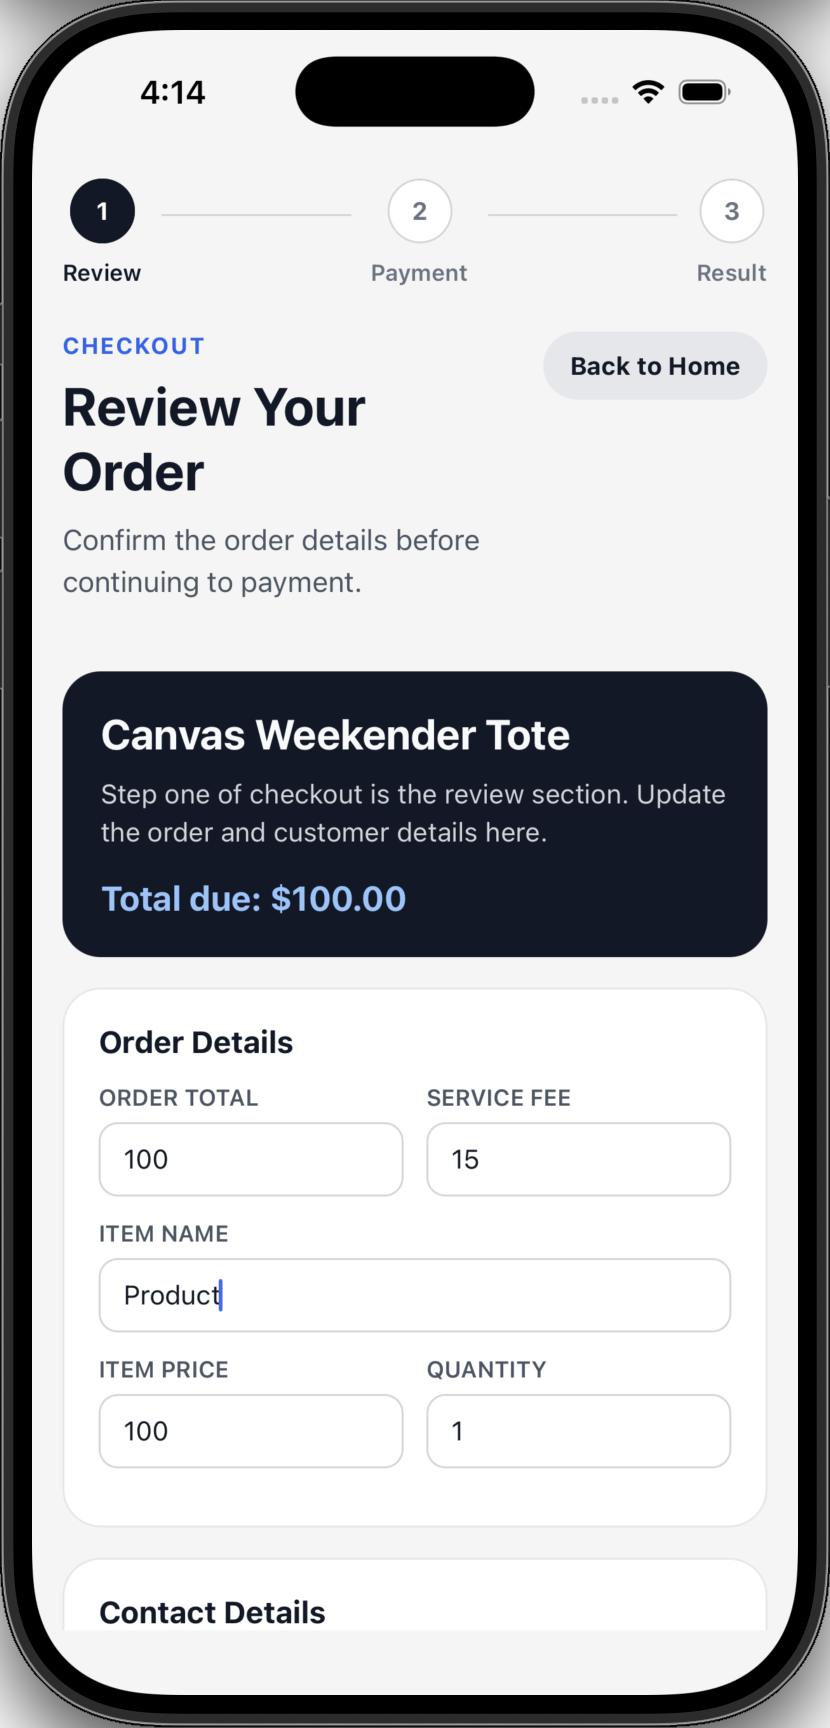
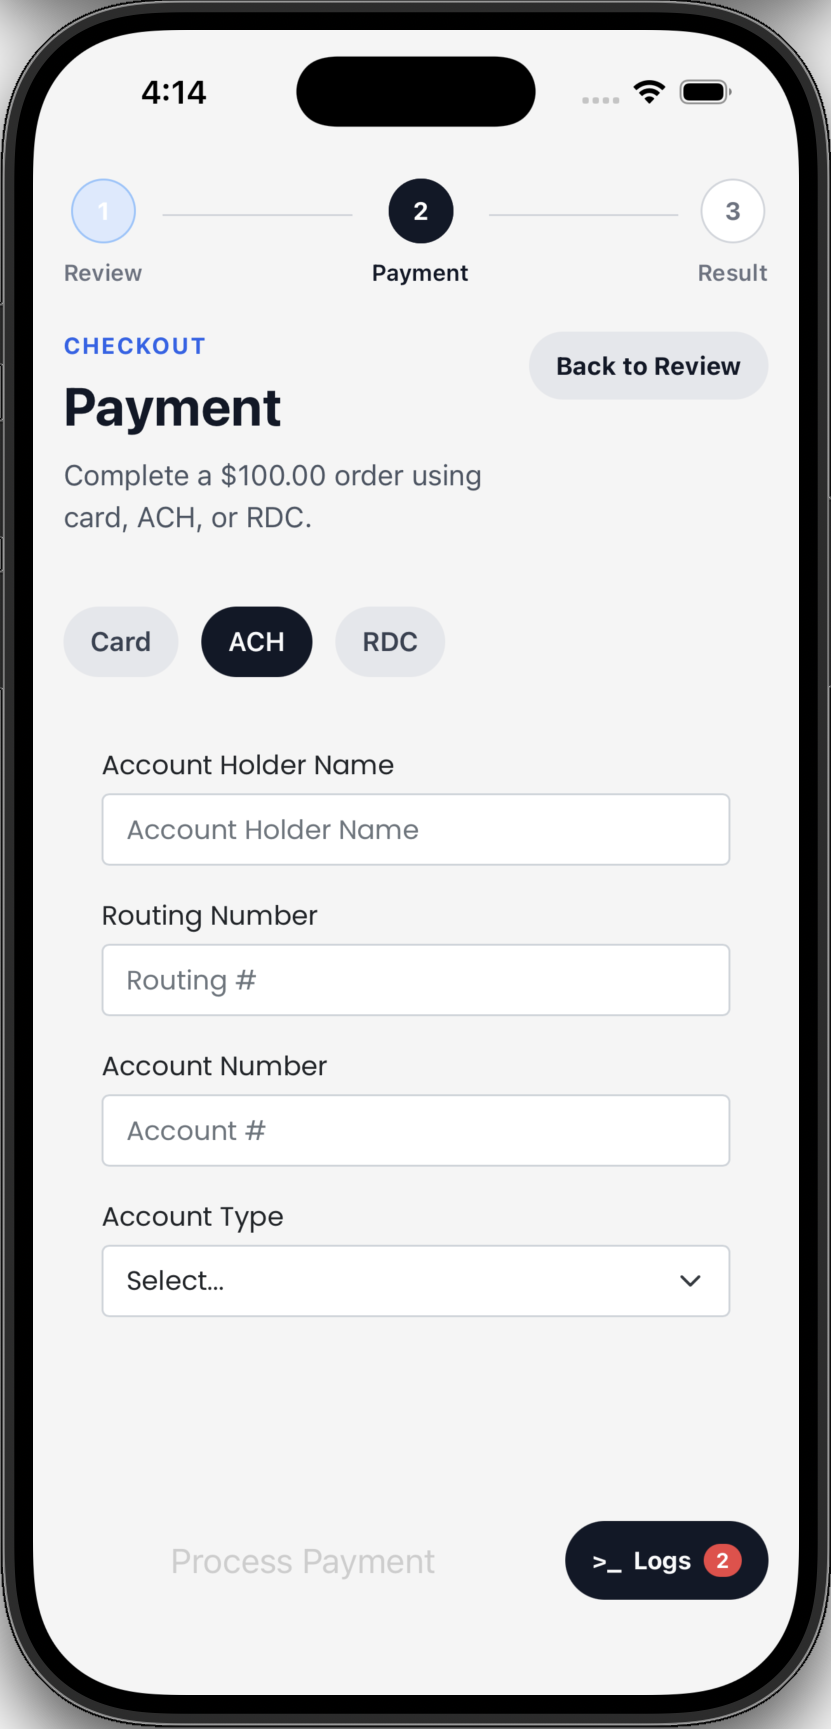
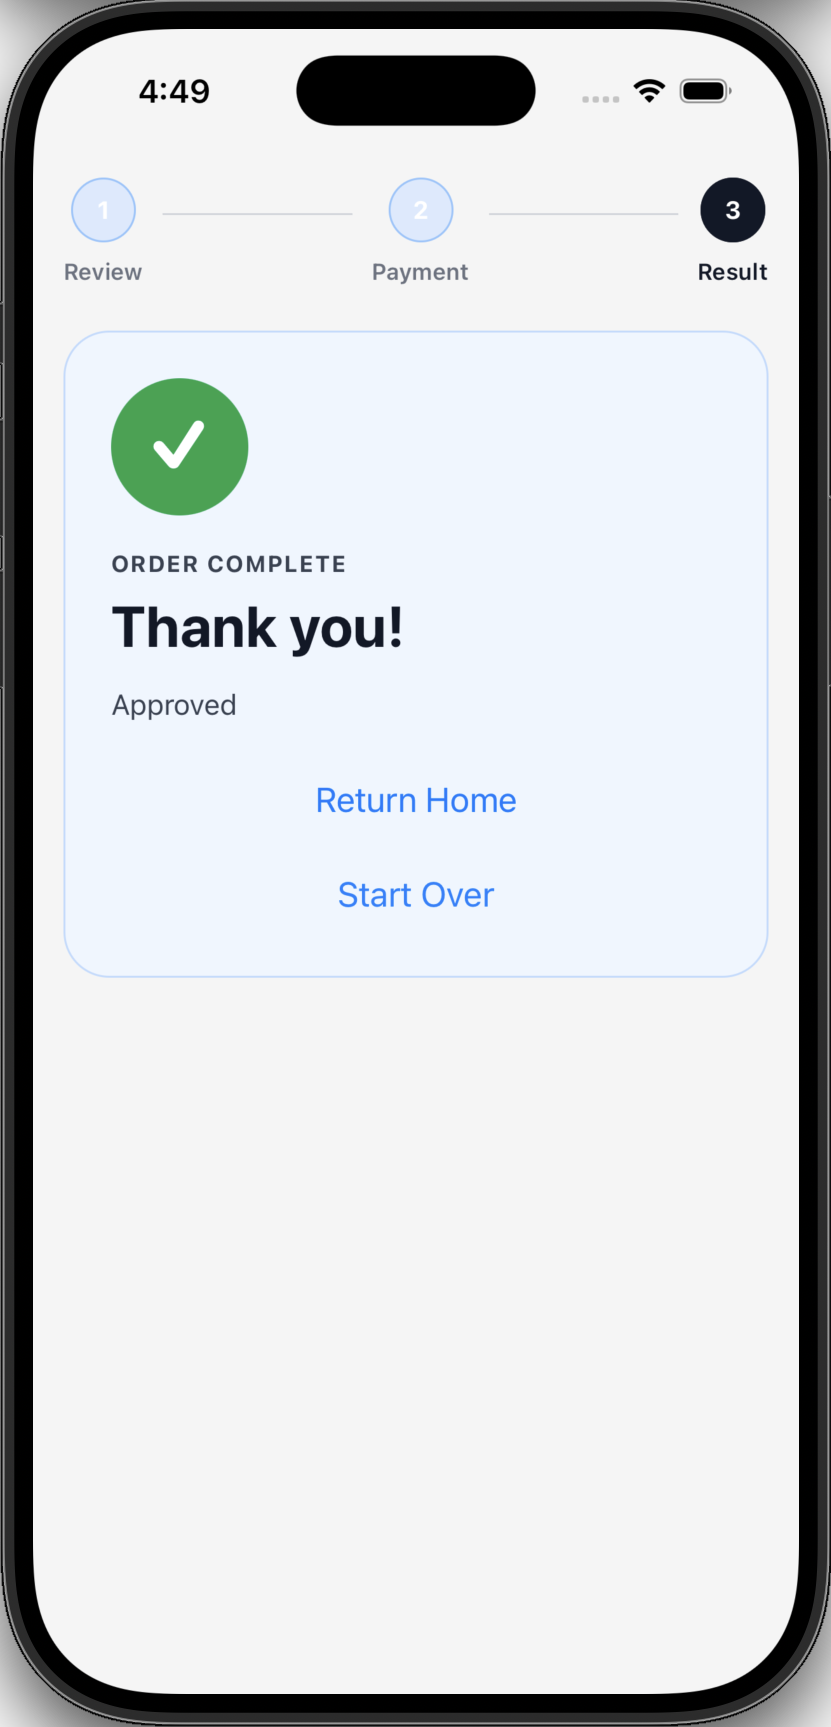
The PayabliCheckout component is a screen with three stages:
Review
The user can review their order details and edit transaction details. The order details and transaction data are passed into the embedded component’s setup functionality.
HomePage.tsx
This demo component is the home page of the React Native example app. Click Checkout to see Payabli’s embedded component in action.
useCheckoutDemo.ts
This demo hook manages the checkout state in the PayabliCheckout component.
It manages the order details, transaction data, and current stage of the checkout flow.
File reference
See the table for a reference of the file structure of the React Native example app along with links to source code:
Run the app locally
This section covers how to run the React Native example app locally on your machine.
Dependencies
Before you begin, make sure you have the following installed on your machine:
To run the app in your development environment, you need to set up an iOS or Android emulator. See the Expo docs for instructions on how to set up your environment for React Native development.
To run the app on a phone, see the Expo docs for instructions on how to set up Expo Go on your device.
Set up the app
To run the React Native example app locally, follow these steps:
You just set up the React Native example app to run locally on your machine! Use this example app as a reference for your own React Native projects.
Related resources
See these related resources to help you get the most out of Payabli.