Use the TypeScript SDK
Payabli offers an official Software Development Kit (SDK) for the TypeScript programming language.
The official TypeScript SDK can be installed in your projects to support app development and provide type safety when calling Payabli’s APIs.
Most development environments can use the SDK to generate code suggestions and inline documentation.
See the @payabli/sdk-node package for more information.
Dependencies
Before you begin, make sure you have the following installed on your machine:
Use the SDK
This section shows you how to install and use the Payabli SDK in a new Node.js project.
The example code shows how to use the SDK to make a transaction with the moneyIn.getpaidv2 method.
The moneyIn.getpaidv2 method calls the POST /v2/MoneyIn/getpaid endpoint.
See the SDK reference for a full list of methods.
Method names in the SDK correspond to endpoint names in the API reference.
For example: the notification.addNotification method calls the POST Notification endpoint.
Create a new Node.js project
Open your terminal and run the following commands to create a new Node.js project:
Create a new file
Create a new file called index.ts in the root of your my-payabli-app directory:
Open the index.ts file in your code editor.
Make a transaction
The interactive walkthrough displays code examples alongside step-by-step explanations.
Follow the walkthrough to use the SDK in your TypeScript code.
/// Import the client
Import the Payabli SDK to make it available in your code.
/// Initialize the client
Create an authenticated client instance with your API key.
This client has methods that call Payabli’s API endpoints.
The environment field specifies which environment to use.
Use PayabliEnvironment.Sandbox for testing and PayabliEnvironment.Production for production.
/// Define the entrypoint
Define your entrypoint. Get this value from your Payabli account.
/// Build the payment request
Construct a request object that contains all the necessary fields to process a transaction. Include payment details, a payment method, and customer data.
/// Execute the transaction
Call moneyIn.getpaidv2() to process the transaction. The client calls Payabli’s POST /v2/MoneyIn/getpaid endpoint.
/// Show the result
Log the transaction response. Check the output to see if the transaction was successful.
In production, we recommend that you pass a stored method ID to the paymentMethod object instead of card details.
See more information in Tokenization Overview.
SDK example app
The SDK example app is a basic web app built with the Payabli TypeScript SDK. It shows how to manage customers and use the temporary token flow with the SDK. The code is publicly available in the example repository.
Set up the app
Follow these steps to set up the SDK example app on your local machine:
Clone the repository
Open your terminal and run the following command to clone the SDK example app repository:
Fill in your environment variables
Open the .env file in your code editor. Set PAYABLI_KEY to a private API token, PAYABLI_ENTRY to your Payabli entrypoint, PUBLIC_PAYABLI_TOKEN to a public API token, and PUBLIC_PAYABLI_ENTRY to your Payabli entrypoint. The entry values should be the same for both public and private, but the API keys are different:
Use the app
The SDK example app has three pages:
- Create Customer - Create a new customer in the Payabli entrypoint.
- List Customers - View a list of all customers in the Payabli entrypoint.
- Make Transaction - Make a transaction using the temporary token flow.
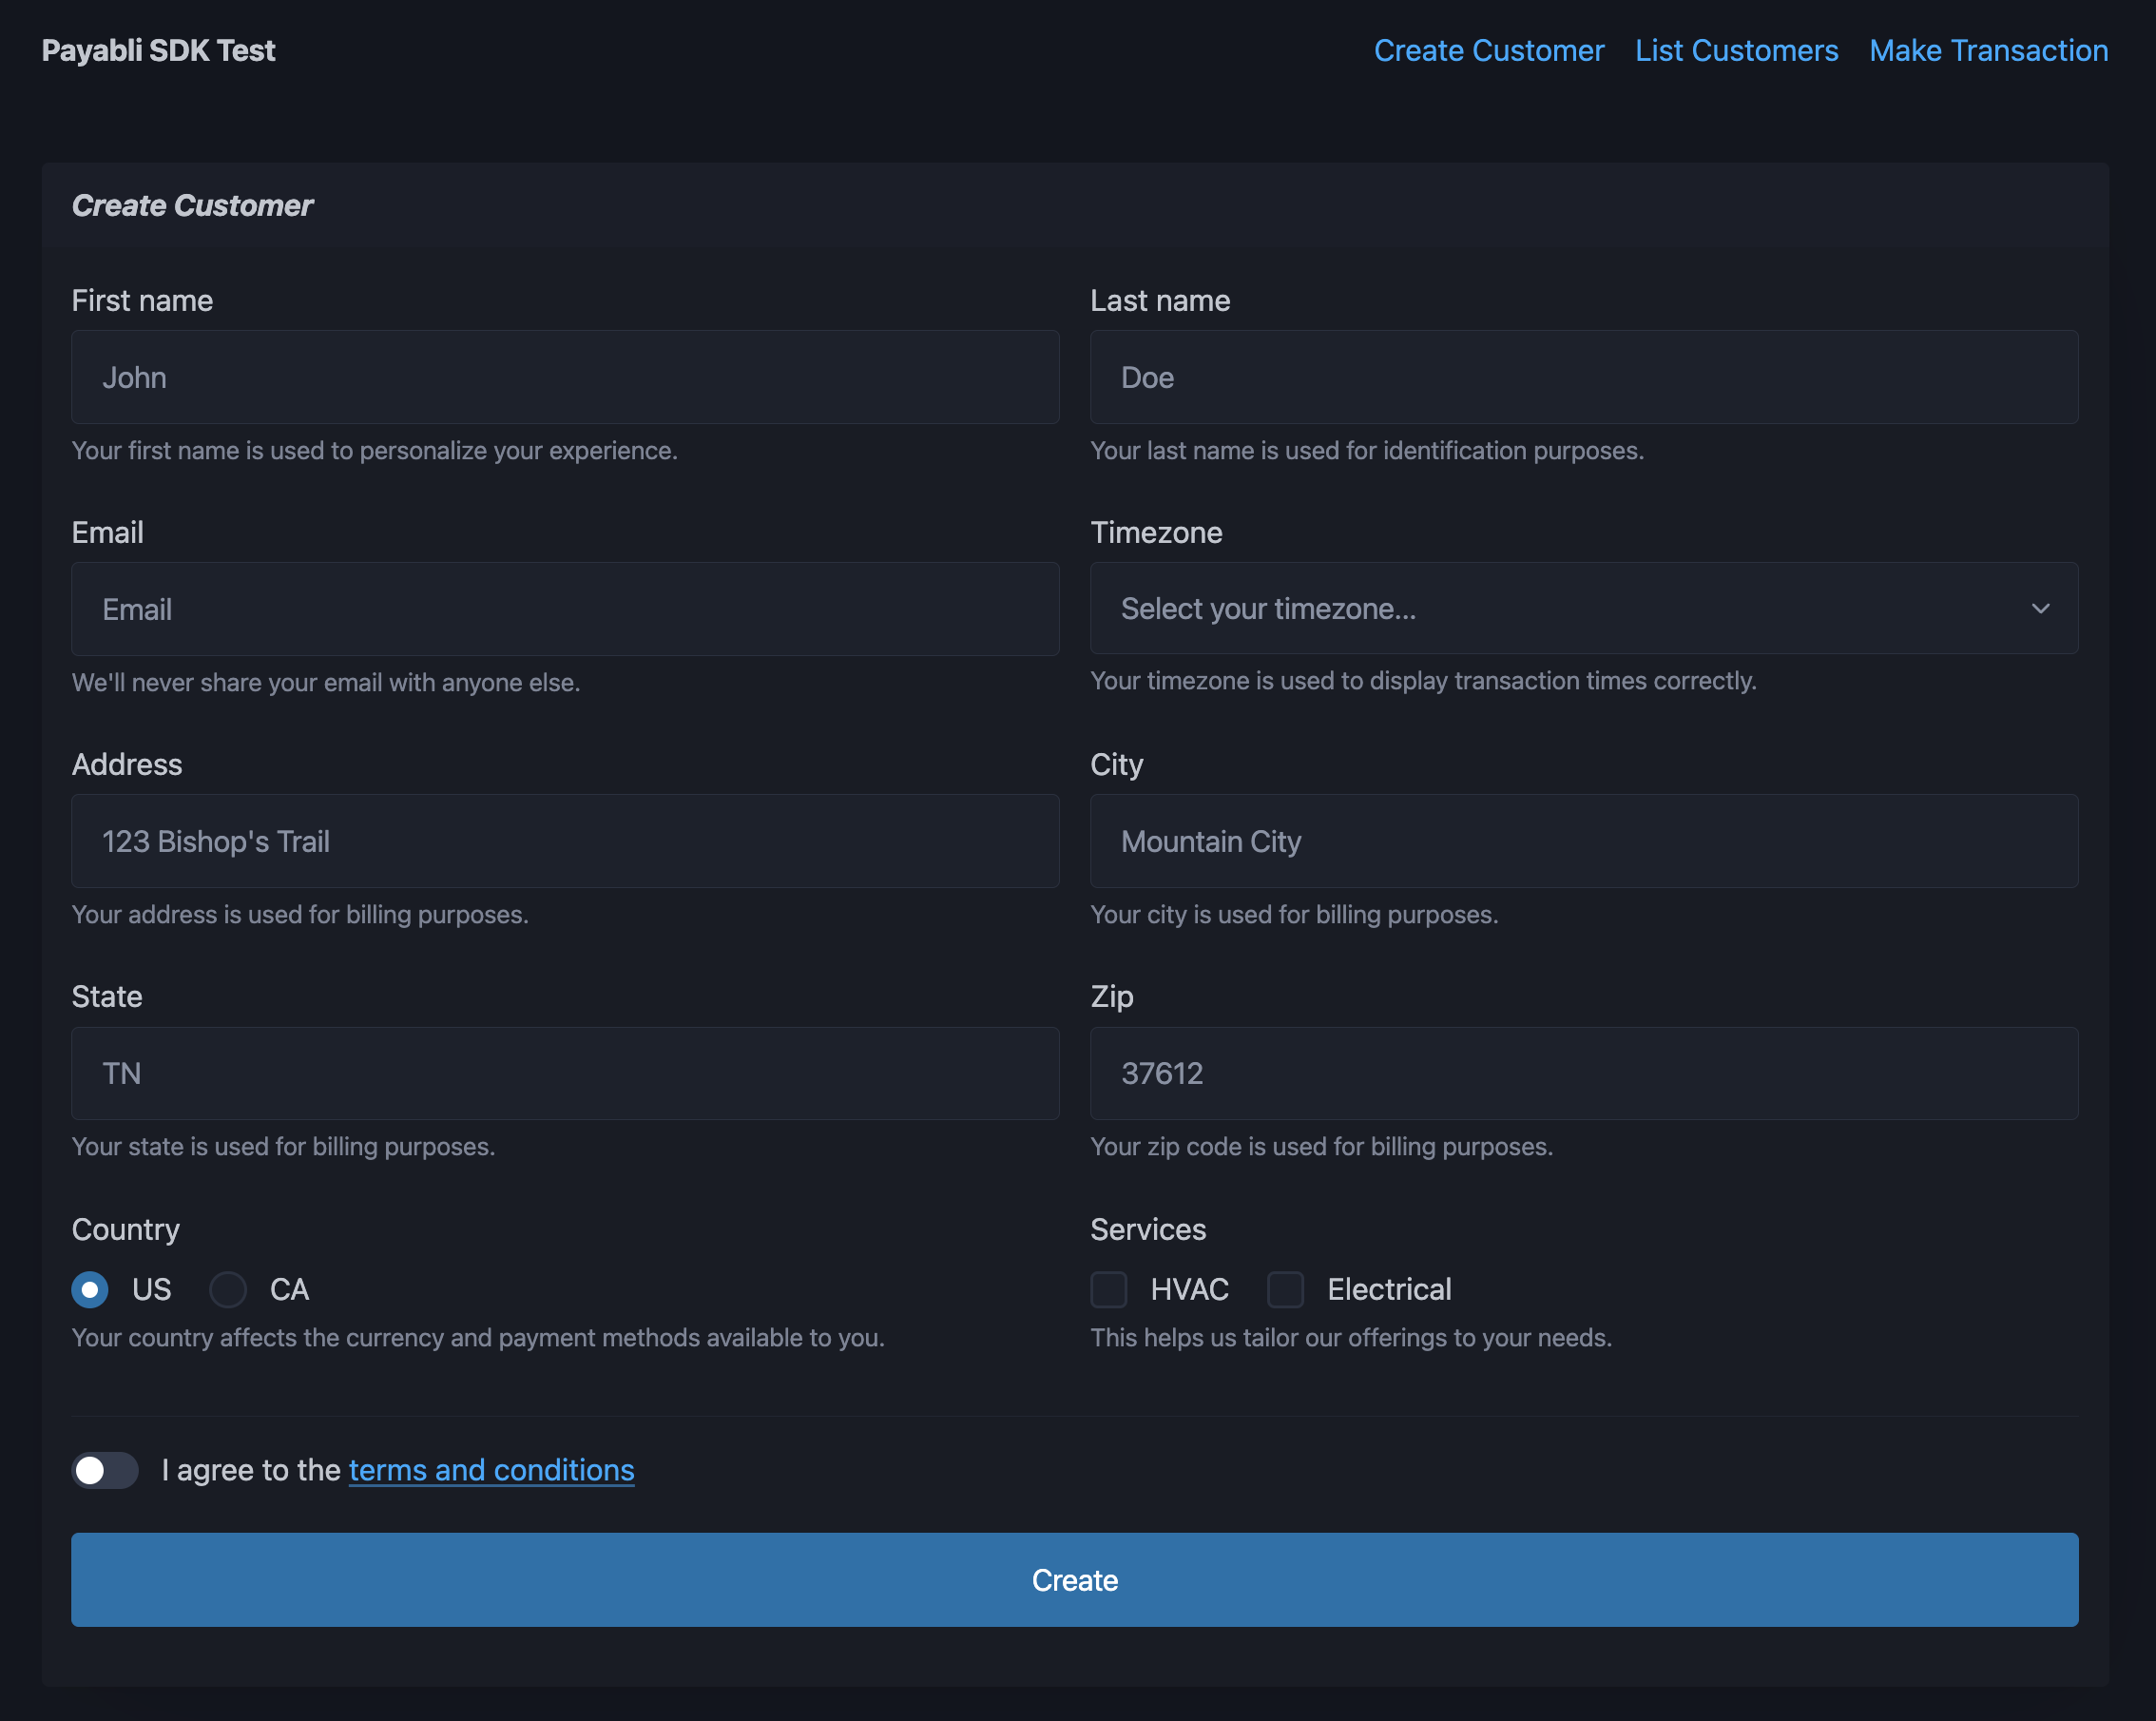
Create customer
The Create Customer page has a form that allows you to create a new customer. Fill in the form with the customer’s information and click the “Create” button. If the customer is created successfully, a green success message appears below the button.
List customers
The List Customers page has a table of all customers in the entrypoint. You can view the customer’s information, including their name, email address, and ZIP Code. Click the “X” button on the right side of a customer’s row to delete the customer. If the customer is deleted successfully, the row is removed from the table.
Make transaction
The Make Transaction page contains an EmbeddedMethod UI component using the temporary token flow. Fill in the form with payment information and click the “Process” button when the payment information is valid. The app performs these steps:
- The embedded component saves the payment method as a temporary token and sends it to the server.
- The server converts the temporary token to a permanent token with the POST TokenStorage/add endpoint.
- The server uses the permanent token to make a transaction with the POST /v2/MoneyIn/getpaid endpoint.
If everything is successful, a green success message appears below the embedded component. See Extend embedded components with the temporary token flow for more information.