Manage customers (Portal)
Manage customers (Portal)
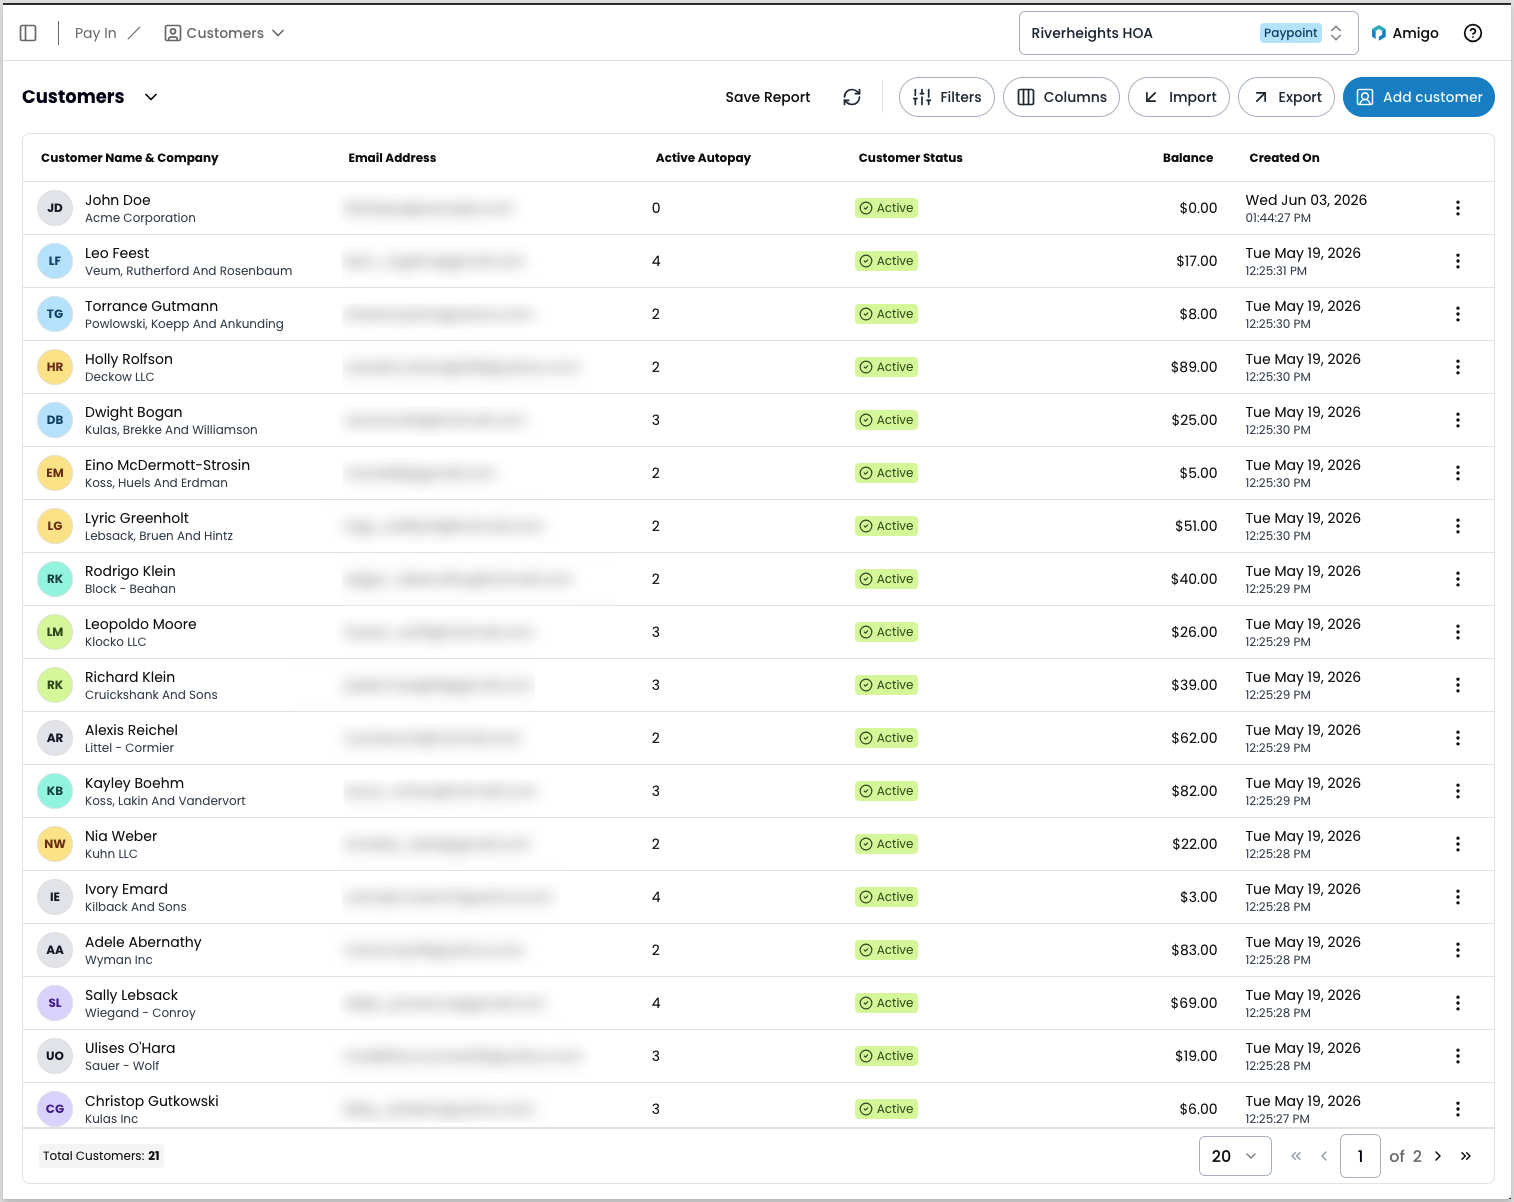
You can use the Customers section to manage the people and businesses that make payments to your paypoints. From a customer record, you can store payment methods, track transaction history, and create payments or autopays. To access it, navigate to Pay In > Customers.
If you’re logged in at the organization level, you can view and manage customers across all paypoints in that organization. When creating a customer, you must specify the parent paypoint. If you create a customer at the paypoint level, it’s assigned automatically.
Filter and save reports
To filter customers by status, address, parent organization, autopay activity, and more, click Filters. To save a filtered view, apply your filters and save the report.
Add a customer
To add a customer, follow these steps:
- Navigate to Pay In > Customers and click Add Customer.
- Enter the required fields:
- First name
- Last name
- Customer Number
- Complete any additional fields, such as billing address and shipping address.
- Click Save.
If any custom identifier fields appear checked and grayed out, they’ve been configured at the organization level and can’t be changed here. See Custom identifiers.
The Customers report also supports adding customers in bulk with CSV files.
View a customer record
The customer record contains details about your customer, including their transaction history. To view a customer record from the Customers report, follow these steps:
- Locate the customer record and click the three-dot icon.
- Select View Customer from the menu.
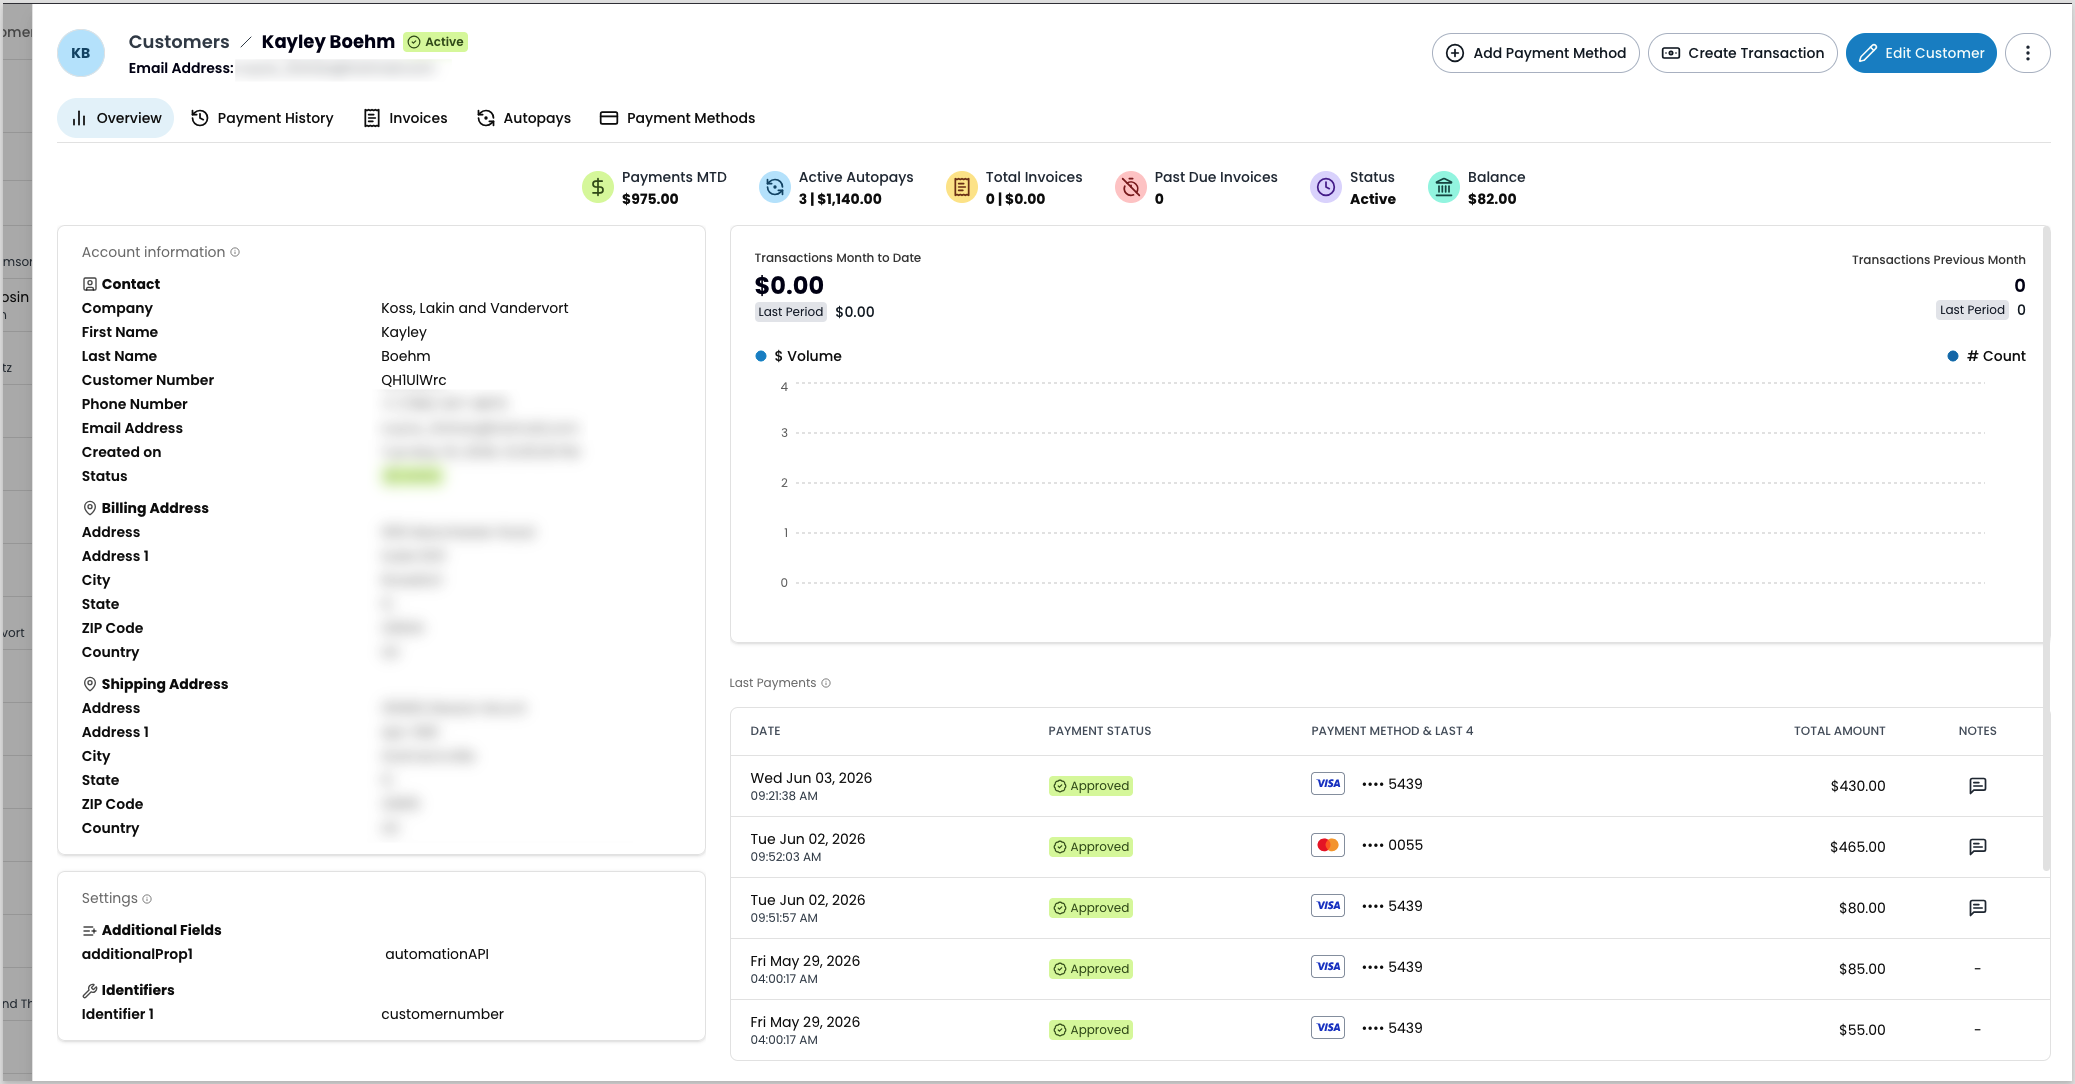
From a customer record, you can see:
- Account information
- Payment history
- Active autopays and autopay history
- Invoice history, including past due invoices
- Saved payment methods
You can also take actions directly from a customer record:
- Add Payment Method — save a new card or bank account
- Create Transaction — start a new payment
- Edit Customer — update account details
Additional actions, including managing invoices, creating autopays, changing status, and deleting the customer, are available from the three-dot menu.
Edit a customer record
To edit a customer record, follow these steps:
- Navigate to Pay In > Customers.
- Locate the customer record and click the three-dot icon.
- Select Edit Customer from the menu to open the Edit Customer modal.
- Update account information, billing details, shipping address, or any custom fields you’re using.
- Click Save.
If any custom fields appear checked and grayed out, they’ve been configured at the organization level and can’t be changed here. To change them, update the identifier settings at the organization level, or contact your administrator.
Create a payment
To create a payment from within a customer record in the UI, see Create a one-time transaction from a customer record.
Add a payment method
You can add a new payment method for a customer separately from creating a payment or autopay. There are two ways to open the Add Payment Method modal:
- From a customer record, click Add Payment Method.
- From the Customers report, click the three-dot icon and select Add Payment Method.
In the modal, select the payment method type, enter the details, and click Save.
Delete a customer
Deleting a customer is permanent and can’t be undone.
To delete a customer record, follow these steps:
- Navigate to Pay In > Customers.
- Locate the customer record and click the three-dot icon.
- Select Delete Customer.
- In the confirmation modal, click Delete to permanently delete this customer.
Download customers report
You can download a copy of your current report, including any active filter settings and selected columns.
To download customers:
- Navigate to Pay In > Customers.
- Apply any filters or add columns to your report.
- Click Export.
- In the Export Options panel, select any additional columns to include.
- Click Export XLSX or Export CSV.
Import customers
Before uploading, download the sample file and use it as a reference for the correct format and column order. For field definitions and valid values, see Add customer in the API reference.
Before uploading, make sure your CSV meets these requirements:
- Any custom fields configured as identifiers (Settings > Custom Fields) must be present in every row.
- If you’re uploading from the organization level,
Paypoint_IdandentryName(the entrypoint identifier for the paypoint) must be present in every row.
To upload customers:
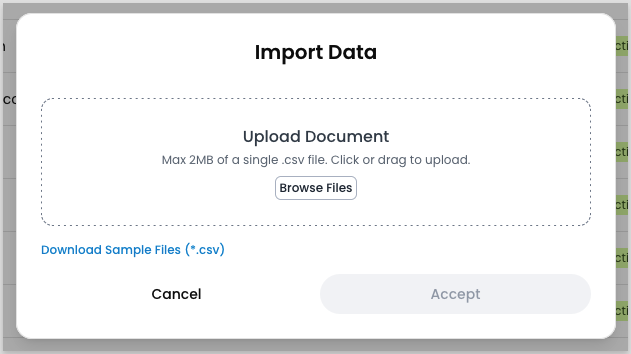
- Navigate to Pay In > Customers and click Import.
- In the Import Data modal, upload your CSV file by clicking Browse Files or dragging it into the upload area. The file must be under 2 MB.
- Click Accept.
The import inserts each row as a new customer record and returns a summary of how many records it added and how many it rejected.
Troubleshoot customer imports
Related resources
See these related resources to help you get the most out of Payabli.