

Create a transaction (Portal)
Create a transaction (Portal)
Use the Payabli Portal to collect payment from a customer directly — useful for phone payments, walk-ins, or other one-off billing occurrences.
Some payment options are available only at the paypoint level or the organization level. Availability is noted in each section by the audience badge:
Partner means that the feature is available to organization-level users, and Paypoint means that the feature is available to paypoint-level users (merchant users).
Virtual Terminal
The Virtual Terminal lets you find or add a customer and collect payment in one flow — useful when you don’t want to start from a customer record.
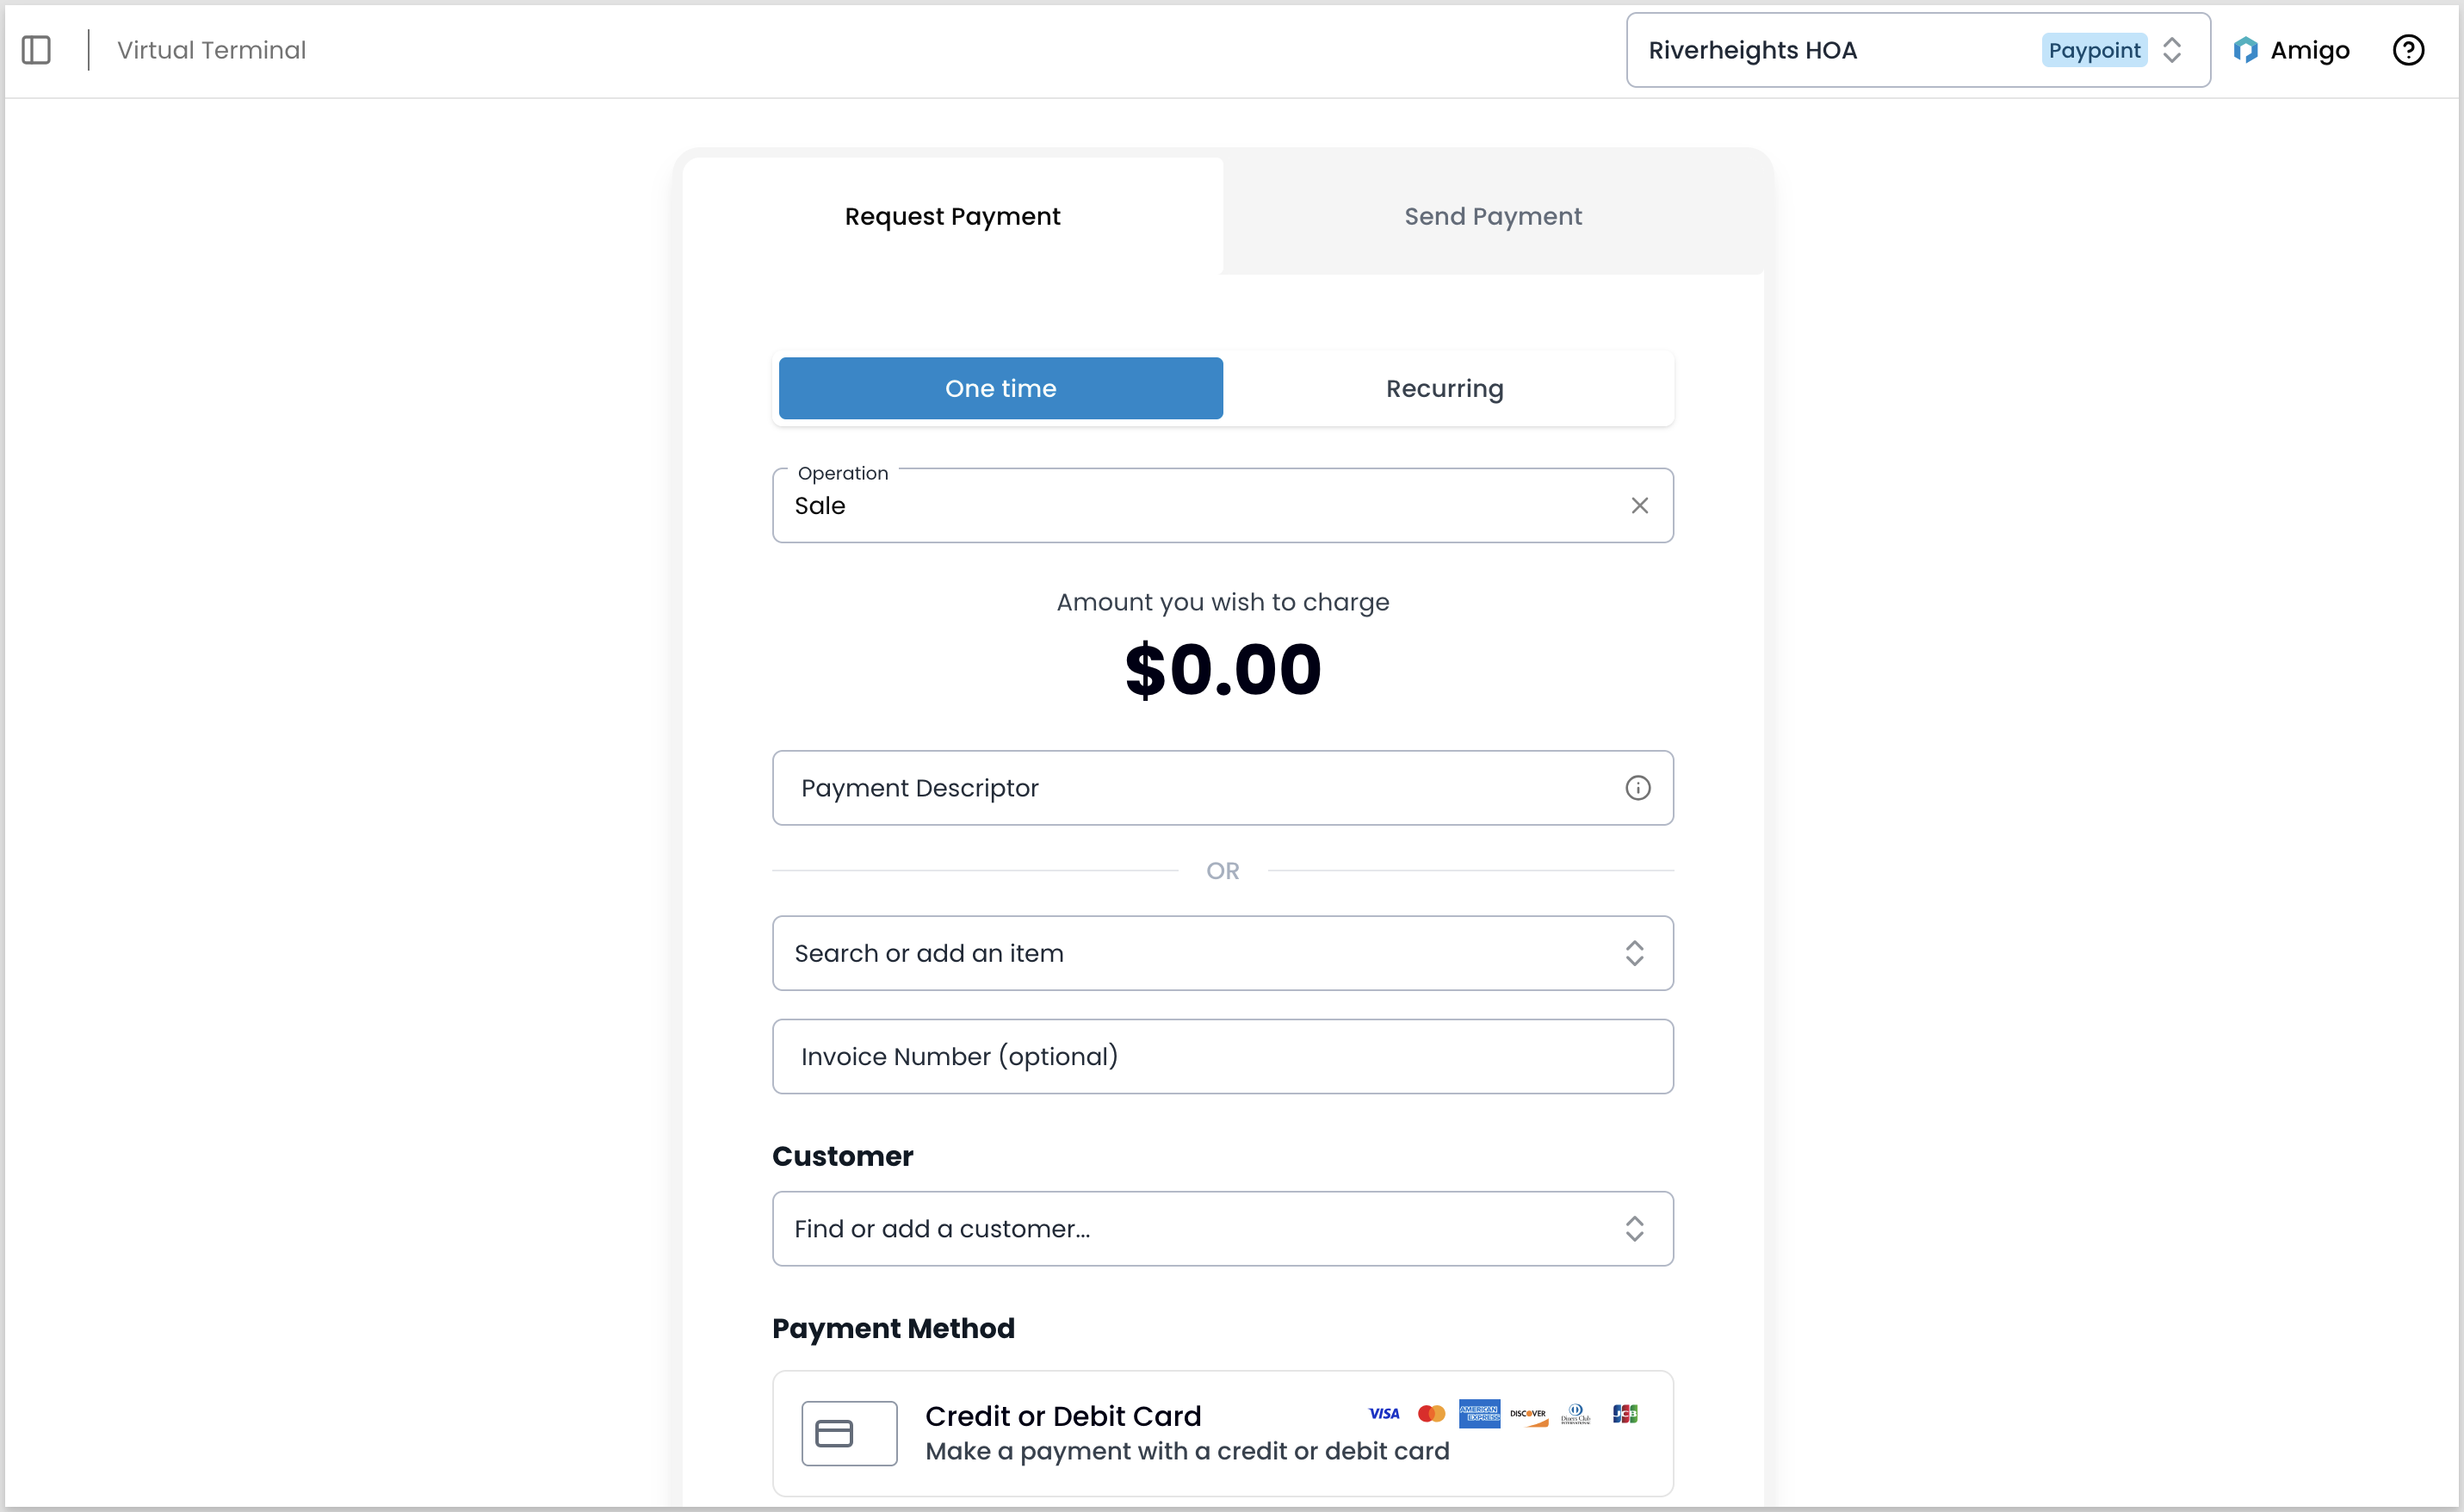
Choose an operation
- Sale — processes the payment immediately
- Authorize — reserves the funds; you must capture them separately before they settle. See Capture an authorized transaction.
Enter payment details
Enter the amount and a description, or click Search or add an item to build an itemized charge. You can save new line items to your catalog.
Optionally, enter an invoice number.
To rerun an existing transaction — for example, to recover a declined payment — see Retry a transaction.
Use the Customers report
Use the Customers report to create a transaction for a customer already in the system.
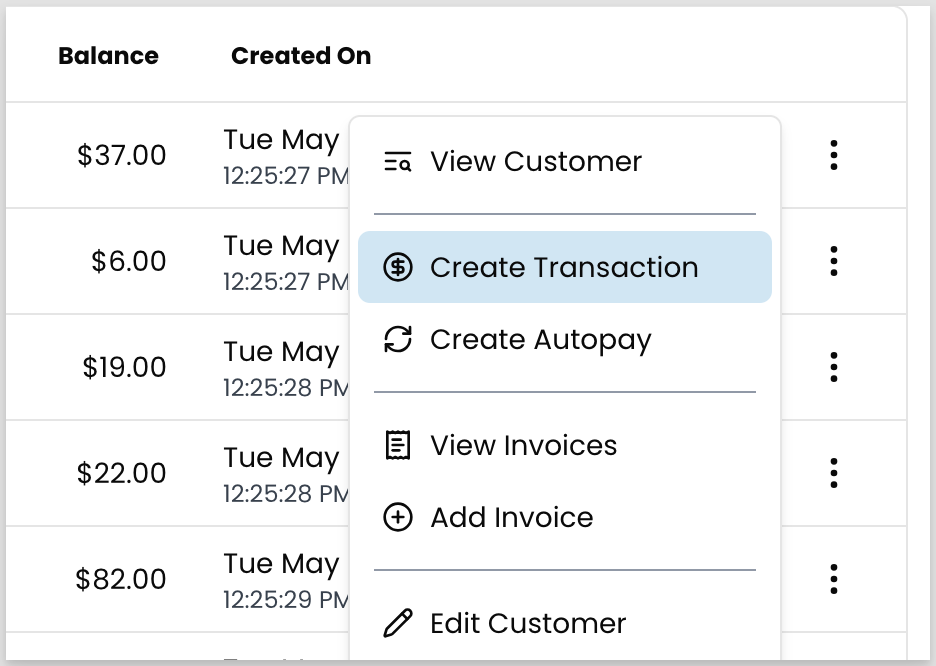
Open the transaction panel
Navigate to Pay In > Customers, find the customer, and click the three-dot icon in the Action column. Select Create Transaction. (Partners: this also works at the org level — the form fields are the same.)
Choose an operation
- Sale — processes the payment immediately
- Authorize — reserves the funds; you must capture them separately before they settle. See Capture an authorized transaction.
Enter payment details
Enter the amount and a description, or click Search or add an item to build an itemized charge. Select existing items from your catalog or save new ones.
Optionally, enter an invoice number.
Capture an authorized transaction
When a transaction is authorized, the funds are reserved on the customer’s account but not yet moved. Capturing completes the payment: it puts the transaction in a batch for settlement and starts moving funds to the merchant account. See Transaction lifecycle.
Authorized transactions that aren’t captured within 10 days are voided automatically. The customer’s hold is released and the payment doesn’t go through.
Find authorized transactions
Navigate to Pay In > Reports > Transactions. To show only transactions pending capture, click Filters and set Transaction Status to Authorized. To prioritize authorizations nearing the void window, sort by Date Created ascending — the oldest appear first.
For filter options and saved views, see Manage Pay In transactions.
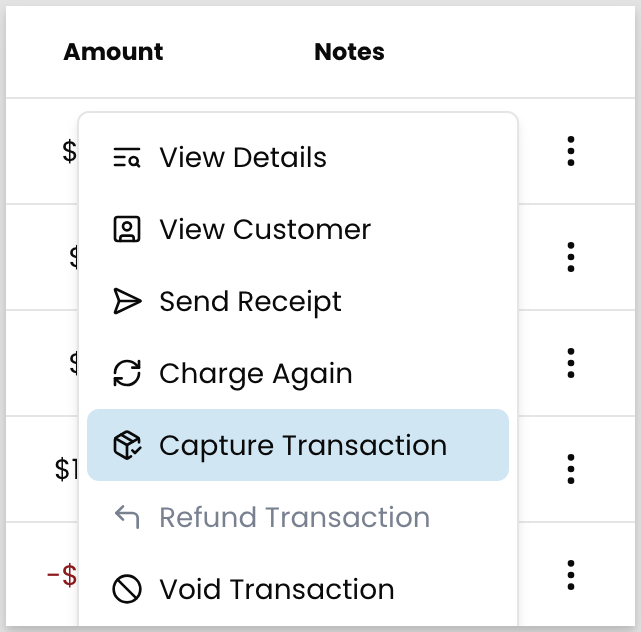
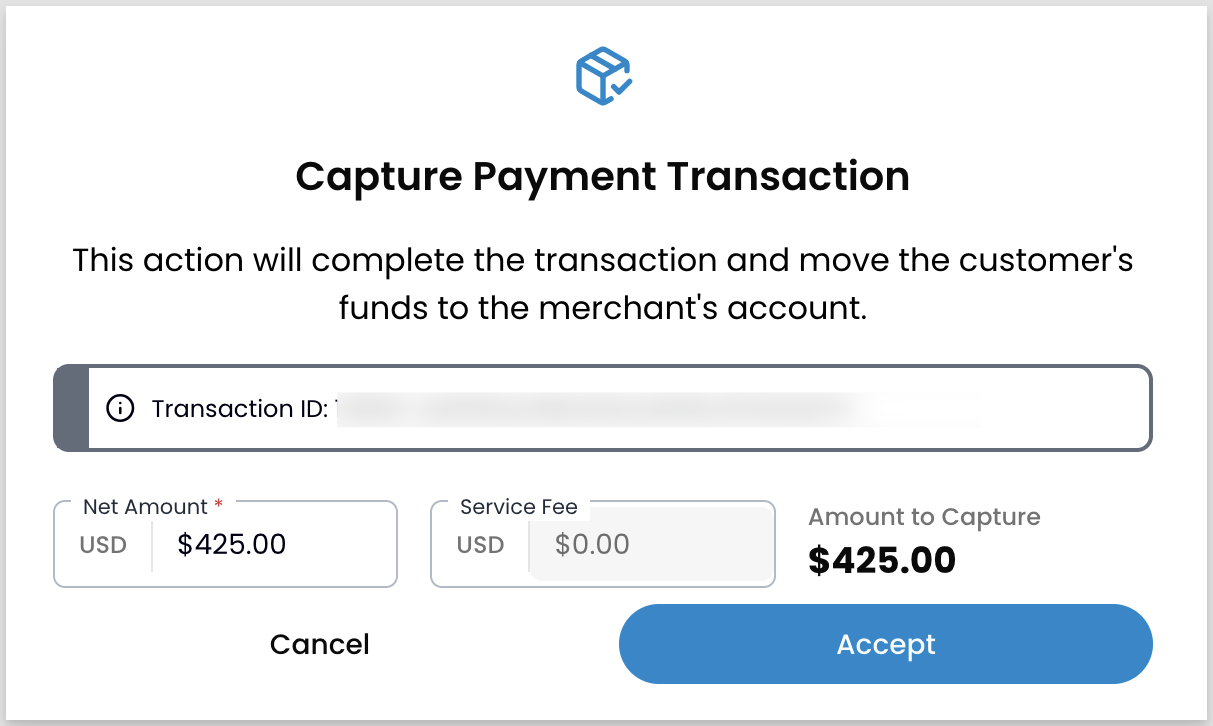
Capture the transaction
The portal captures the full authorized amount. For partial or adjusted captures, use the API — see Authorize and capture transactions.
If a transaction fails
Errors fall into two categories: pre-submission errors caught before the charge is sent, and post-submission declines returned by the processor.
Pre-submission errors
Payment method not available: No payment credentials are configured for the selected method at this paypoint. Try a different payment method, or contact your admin to enable the method.
Amount outside allowed range: The amount falls outside the tier limits configured for this paypoint. Contact Customer Service to adjust your tier settings.
Post-submission declines
Processor or issuer decline: The card-issuing bank rejected the transaction. Ask the customer to contact their bank or try a different payment method.
System error: A system-side error unrelated to the issuer. Retry the transaction. If the error persists, escalate to Payabli support.
Related resources
See these related resources to help you get the most out of Payabli.